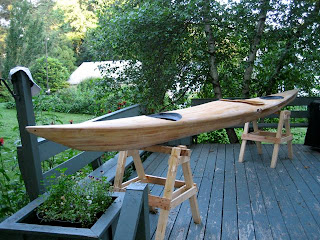
MAIDEN VOYAGE(S)
Took the Isfjord out to get her wet, a three hour paddle in the Norwalk Islands on Long Island Sound, then a practice session on Lake Wintergreen in Hamden.
 I still have some outfitting to do, refining the back pillar, installing thigh braces and building up the foot braces. Also have to track down a leak in the rear hatch when rolling (most likely suspect the point where the skeg cable passes through the stern bulkhead, easily caulked).
First impressions. The kayak is as described and fun to paddle. It turns more freely than any kayak I've owned; the stern is fairly loose and the boat practically spins with a good sweep and bow rudder combination. The skeg straightens things out quickly in a beam wind. There's a lot of volume in the bow, and the boat pushes through a bit more resistance when accelerating; as advertized, the hard chine increases wetted surface and the boat is not as quick as my Explorer, and considerably less so than my Outer Island or the Viviane I used to own. There's considerable stability especially secondary and it rolls well. The relatively flat stern makes the Isfjord want to take off on even small waves and surfing should be a blast.
Great boat!


